Pro League
Al Khaleej Saihat 1-1 Al-Nassr
Al Khaleej Saihat vs Al-Nassr finished 1-1 in Pro League. Key event: 9' Nawaf Al-Sadi (Foul). Head to head: H2H last 2: 0-0-2. Venue: Prince Mohamed bin Fahd Stadium. Home form: D L L D D; Away form: W L W W W. Also shown: timeline, team statistics, lineups, top players, recent team results.
Match preview 2 facts
Home form
D L L D D
3 pts, goals 2-9, 0.40 scored/match, 1.80 conceded/match
Away form
W L W W W
12 pts, goals 12-6, 2.40 scored/match, 1.20 conceded/match
Timeline 19 events
9'
Yellow
Nawaf Al-Sadi
Al Khaleej Saihat Foul
34'
Yellow
Mohammed Al-Khabrani
Al Khaleej Saihat Foul
43'
Yellow
Saad Fahad Al Nasser
NAS Foul
45'
↔
Sub
Abdullah Al-Khaibari
NAS on for Mohamed Simakan
46+1'
⚽
Goal
Omar Mascarell
1–0 Al Khaleej Saihat assist Angelo Fulgini · Normal Goal
61'
↔
Sub
Saleh Al Amri
Al Khaleej Saihat on for Mansour Hamzi
61'
↔
Sub
Nawaf Al-Sadi
Al Khaleej Saihat on for Fahad Ayed Al-Rashidi
70'
↔
Sub
Saad Fahad Al Nasser
NAS on for Abdullah Al-Hamdan
72'
⚽
Goal
Abdullah Al-Hamdan
1–1 NAS assist Iñigo Martínez · Normal Goal
73'
Yellow
José Manuel Martins Teixeira Gomes
Al Khaleej Saihat Dissent
74'
↔
Sub
Angelo Fulgini
Al Khaleej Saihat on for mohammed bader munshi
74'
↔
Sub
Saeed Al-Hamsal
Al Khaleej Saihat on for Fawaz Al-Sagour
Show 7 more timeline eventsHide 7 timeline events
Head-to-head H2H last 2: 0-2-0
Al-Nassr leads the last 2 head-to-head meetings: 2 wins, 0 losses, 0 draws. Latest meeting: 14 Mar 2026 · Al Khaleej Saihat vs Al-Nassr · 0 - 5.
Recent form
Showing 8 of 12 recent form matches.
Show 4 more recent form matchesHide 4 recent form matches
Team statistics 11 metrics
Show 4 more statisticsHide 4 statistics
Lineups
Al Khaleej Saihat
4-3-3 · Manager José Gomes
49
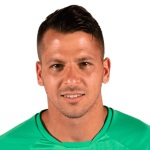 A. Moris
GK
View ›
39
A. Moris
GK
View ›
39
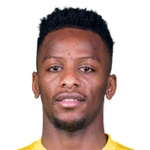 Saeed Al Hamsal
DEF
View ›
4
Saeed Al Hamsal
DEF
View ›
4
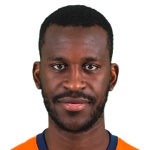 K. Kouyaté
DEF
View ›
3
K. Kouyaté
DEF
View ›
3
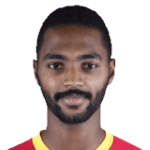 Mohammed Al Khabrani
DEF
View ›
5
Mohammed Al Khabrani
DEF
View ›
5
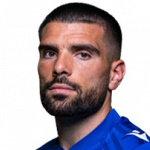 Pedro Rebocho
DEF
View ›
19
Pedro Rebocho
DEF
View ›
19
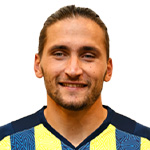 Miguel Crespo
MID
View ›
8
Miguel Crespo
MID
View ›
8
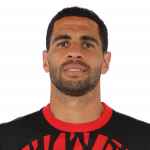 Omar Mascarell
MID
View ›
12
Omar Mascarell
MID
View ›
12
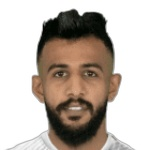 Majed Kanabah
MID
View ›
18
Majed Kanabah
MID
View ›
18
 Nawaf Al Saadi
FWD
View ›
11
Nawaf Al Saadi
FWD
View ›
11
 Saleh Al Amri
FWD
View ›
10
Saleh Al Amri
FWD
View ›
10
 A. Fulgini
FWD
View ›
A. Fulgini
FWD
View ›